Generating Amiga Hard Disk Images
This article is a tutorial on generating a .HDF hard disk image for Amiga emulation, e.g. WinUAE or MiSTer FPGA.
WinUAE is the most common Amiga software emulator. It is the Windows version of Amiga emulator UAE, a project started in 1995. The MiSTer FPGA is an open source multi-system hardware emulation system from 2017, based on the Terasic DE-10 Nano FPGA board. Both emulation platforms support HDF files.
Overview
The rest of the tutorial can be skipped given enough knowledge about WinUAE and Amiga OS. In this case, the following pointers should be enough:
-
Create a HDF with a fixed size in WinUAE (e.g. 8 MB) in 'Settings/Hardware/CD & Hard Drives', select 'Add Hardfile...'. This is an unformatted drive with one partition.
-
Boot Workbench 1.3 in WinUAE and format the HDF. Use default 'compatible' speed options to avoid errors.
-
Open Shell and copy all Workbench files to HDF using
copy df0: dh0: all cloneThe Workbench disk image can now be ejected, and the HDF can boot by itself with Kickstart 1.3.
-
Remember to back up HDF's along the way to be able to roll back.
-
Do not edit HDF files directly in e.g. the Total Commander 'AmigaDX' plugin. This will result in Disk-validator errors. Only modify from Amiga OS, and leave the system enough time to finish saving your changes before unmounting or closing WinUAE.
If you need more detail, the following guide goes through every step.
Terms
In the following, I will use the following terms:
- HDF: 'Hard Disk File' - raw hard disk format used by WinUAE and the MiSTer MiniMig core. In this context, 'raw' means that there is no extra header on the file, it just contains the raw data seen by Amiga OS.
- ADF: 'Amiga Disk File' - raw floppy disk format used by WinUAE and the MiSTer MiniMig core.
- Amiga OS: The Commodore Amiga Operating System.
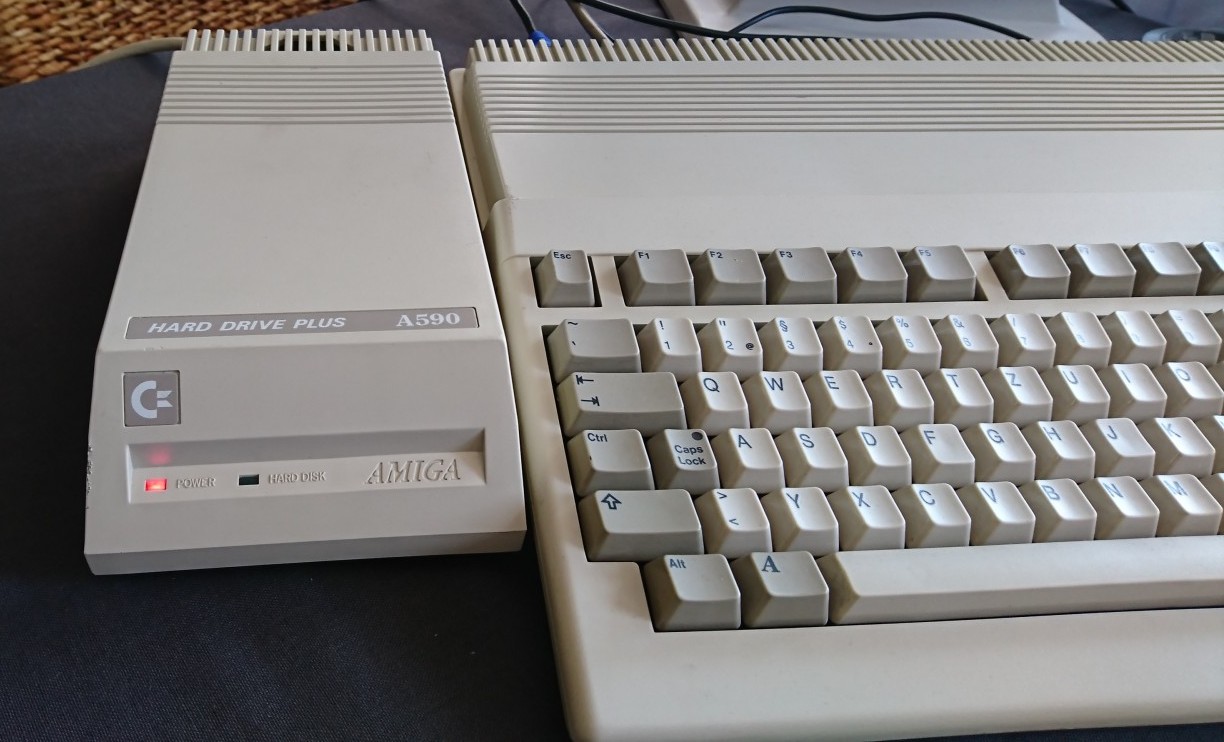
- Kickstart ROM: Commodore Amiga boot ROM, originally a 500 KB ROM chip installed in all Amiga's. Dumps can easily be found online. In this guide, we use Kickstart 1.3, the boot ROM that was in the Amiga 500 and Amiga 2000.
- Workbench: The Amiga graphical desktop user interface, with icons, windows, and pull-down menus, familiar from most operating systems.
- Shell: The Amiga command-line interface, similar to CMD or Powershell in Windows.
Preparations
Let's go through the creation of a bootable .HDF in detail. We start out with a few preparations:
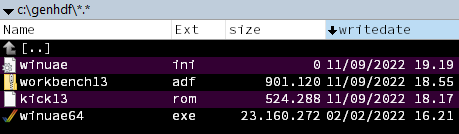
- First, make an empty directory. Let's call it 'genhdf'.
- Download an Amiga Kickstart 1.3 ROM and a Workbench 1.3 ADF file and put these in 'genhdf'.
- First, we will need to download zip-archive containing WinUAE. The zip-archive contains an executable that you can run directly, without installing the emulator. Copy the executable to 'genhdf'.
- Create an empty file 'winuae.ini' and put that in 'genhdf'. Now, running WinUAE from this directory will ensure that WinUAE doesn't use the registry database for configuration data.
We should now be ready to create the HDF file.
Creating HDF
When generating an HDF file, we just create a blank image of a fixed size. Think about how much space you will need for your virtual harddisk, bearing in mind that an Amiga floppy disk will maximum hold 880 KB, and the harddisk also needs to hold a Workbench installation.
- Start WinUAE
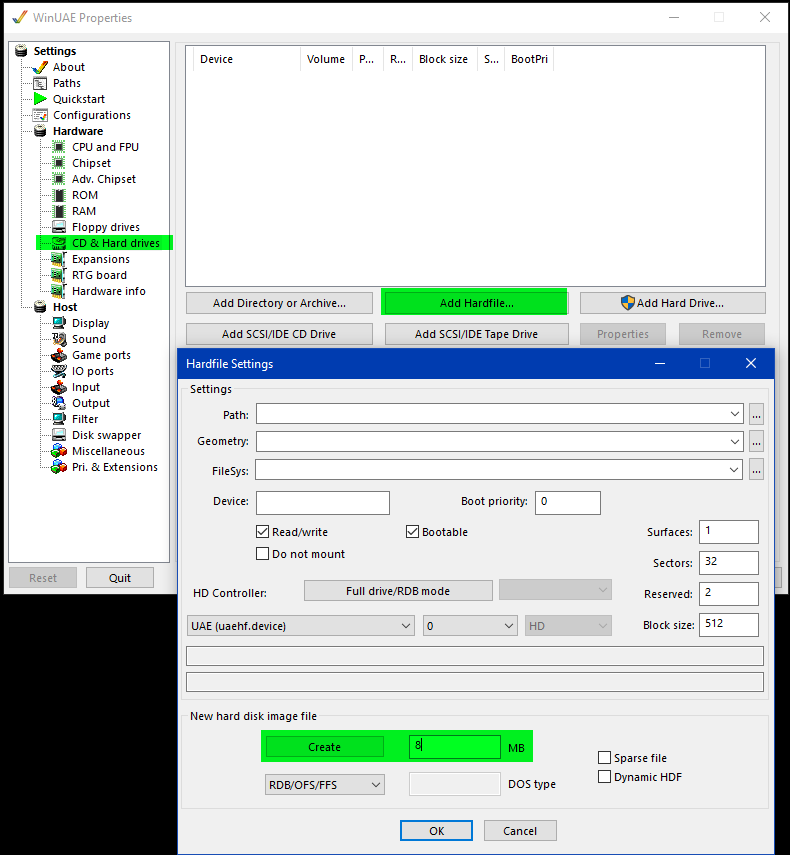
- In 'Settings/Hardware/CD & Hard drives', select 'Add Hardfile...'.
- In the 'Hardfile Settings' window, under 'New hard disk image file', enter the size of the hard disk file in MB, e.g. 8 MB. Leave the other settings at their default, and select 'Create'.
- Save the hard disk image file as 'genhdf/empty.hdf'. Click 'OK' and keep WinUAE open for the next steps.
We now have an unformatted hard disk image file. Store a copy of 'empty.hdf' so we can roll back to this point if anything goes wrong.
In the next step, we will start the Amiga Workbench and install Amiga OS on the virtual hard disk.
Setup WinUAE
Now, let's boot up Workbench 1.3 and install it onto the virtual hard drive. During this process, keep the WinUAE settings to their most compatible. Adjusting CPU speed or disk speed can result in errors.
-
In WinUAE 'Settings/Hardware/CD & Hard drives', we keep empty.hdf mounted as DH0.
-
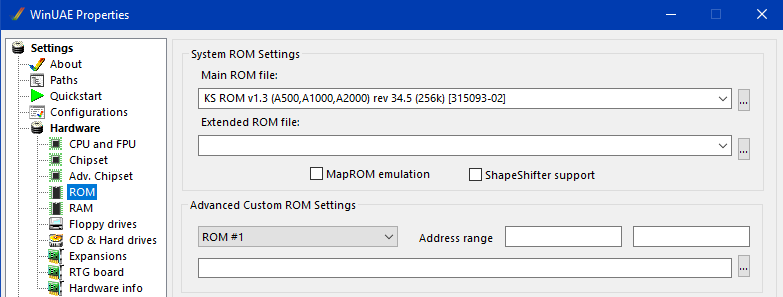
In 'Settings/Hardware/ROM/System ROM Settings/', set 'Main ROM file' to the Kickstart 1.3 ROM in 'genhdf'.
- In 'Settings/Floppy Drives', next to DF0, we press the '...' button to select the Workbench 1.3 ADF file.

- Press 'Start' to boot the emulator.
When the Amiga Workbench is fully booted, we first format the virtual harddisk DH0.
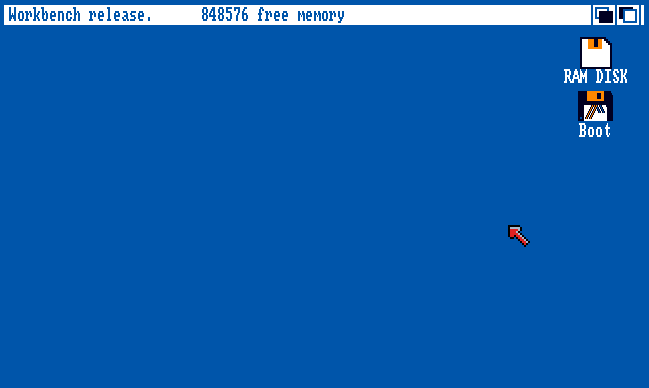
Installing Amiga OS
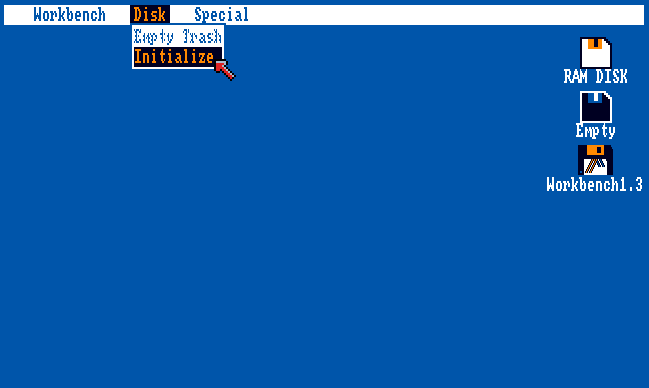
- Select the 'Empty' virtual hard disk by left clicking once on its icon.
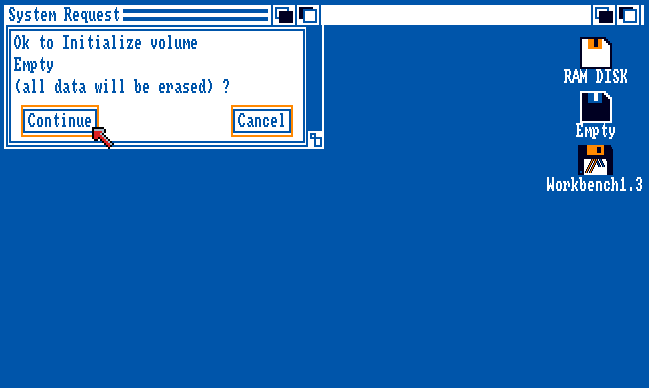
- In the drop-down menu accessed by holding the right mouse button, select 'Disk/Initialize' and select 'Continue' twice in the System Requesters. The virtual hard disk will be formatted.
- Double-click on the Workbench1.3 icon to open the contents of the floppy disk image.
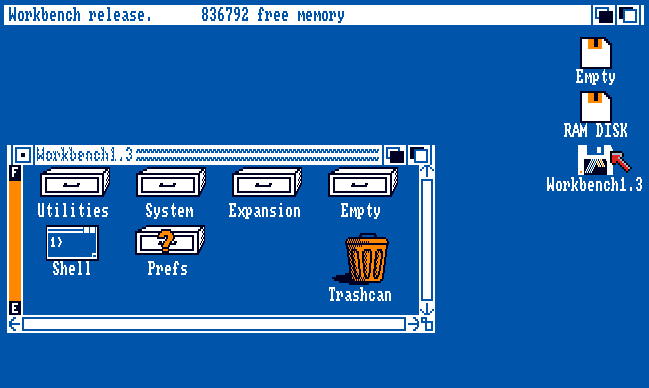
-
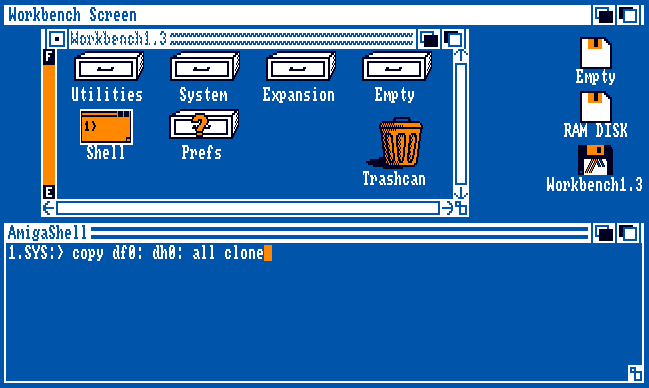
Double-click on 'Shell' to open the command-line window.
-
In the shell, enter the command
copy df0: dh0: all cloneThis copies all files from DF0 recursively, keeping file dates and flags. It will take a little while, go get a cup of coffee.
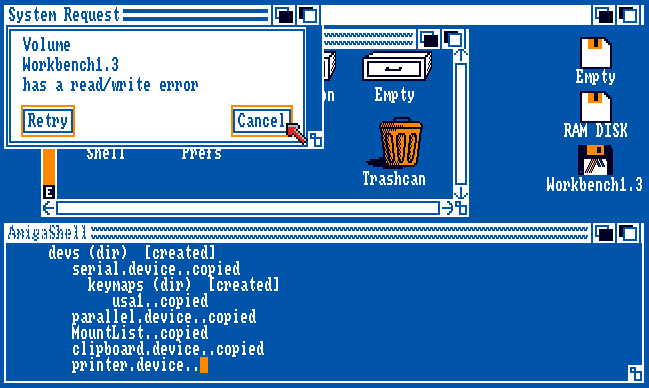
- For some reason, my Workbench1.3 disk has a read/write error. I press 'Cancel' in the System Request to skip the file.
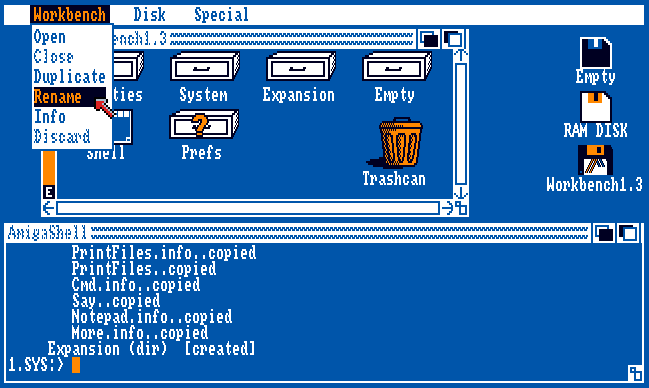
- When the copy operation is completed, select the 'Empty' disk icon by left-clicking on it, and select the drop-down menu 'Workbench/Rename'. Enter 'Boot' as the new name.
- Press F12 to pause WinUAE, let it stay open for now.
Rename 'empty.hdf' to 'boot.hdf' and store a copy of it, so we can roll back or reuse for another project.
Now, we can eject the Workbench 1.3 ADF from DF0 in 'Settings/Hardware/Floppy drives', and select 'Reset' to reboot the Amiga from the virtual hard drive.
At this point, the HDF should boot by itself, and have it's own Shell for doing further installations from. The Workbench ADF should no longer be needed.
Example Usage: Install SimCity
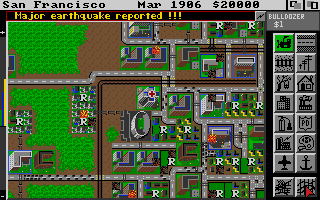
Having a booting HDF, we can use it as a template to create new booting HDFs from. The original impetus for this guide was to make a bootable SimCity HDF for the MiSTer FPGA MiniMig core, where save data could be stored on the HDF itself.
Here is how this was accomplished, based on 'boot.hdf':
- Press F12 and insert SimCity ADF into DF0 using 'Settings/Floppy Drives'
- Back on the emulated Amiga, open 'Boot' and 'Shell'.
- Copy all files from the SimCity ADF using
copy df0: dh0: all clone. - Now, we have a bootable SimCity HDF. We can insert new ADFs with e.g. graphics packs and install them on the HDF as well.
This new 'simcity.hdf' can be used in WinUAE or MiSTer FPGA, allowing saved cities to be transferred between systems.